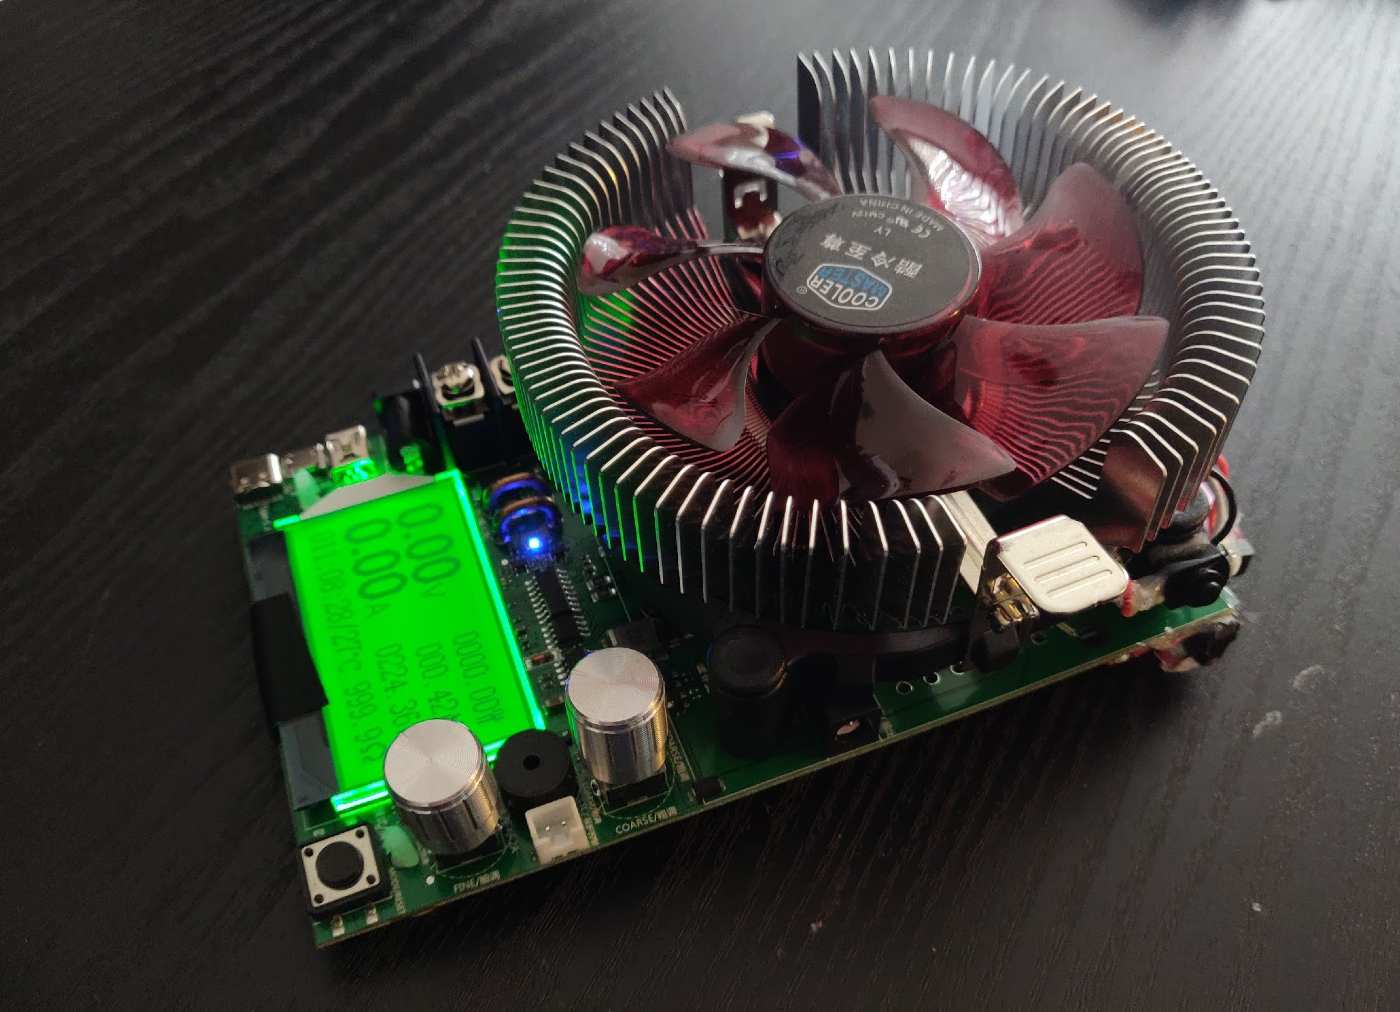
MakerHawk USB 150W Load Tester - Review and Battery-Power Mod
I ordered this MakerHawk USB load tester a few months ago. For the price it packs a punch, but comes up short on the accuracy of voltage readings. I modded it to run on a single 18650 Li-ion battery, making it a much more portable and easy to use tool.

Note: This review is in no way sponsored or requested by the manufacturer. This is just a tool that I use often and haven't seen too much written about it online. Hope this info is useful to you, get in touch on Twitter if you have any questions or comments.
Summary
I ordered this MakerHawk USB load tester a few months ago. For the price it packs a punch, but comes up short on the accuracy of voltage readings. I modded it to run on a single 18650 Li-ion battery, making it a much more portable and easy to use tool.
Overall Impression: Mixed
Value: 9/10
Build Quality: 8/10
Accuracy: 3/10
Finish: 2/10
Product photo from manufacturerIf you're not familiar with this type of device, it is sometimes known as a "dummy load," a "load tester," or sometimes just called a "load." It is used to consume electricity from, or place a load on, a connected voltage source.
When working with different voltage sources in your projects, it becomes extremely useful to be able to test them under real-life conditions, as opposed to simply using passive resistors. It also becomes hard to find resistors that can withstand high currents with higher voltage sources.
A load-tester like this one allows you to carefully adjust the current consumed from the voltage source, and has integrated circuitry for cooling, preventing over/under voltage, and some handy readings about total power consumed and time.
Device diagramUsage
Here is a diagram of the connectors and buttons on the device. One of the nice things about this model are the different types of connectors available. There are some pretty robust screw terminals, a 4 types of USB port, and a 5.5x2.1mm barrel jack. There is also a power output which can be used to connect an external load and simply use the device for measurements (due to the limited accuracy, I wouldn't recommend using this function).
The instructions provided are pretty thorough and the basic operation is simple enough, but I'll list the most important points here:
- Make sure the two adjustment knobs are turned all the way to the left before connecting a voltage source
- Start with the fine adjustment knob (the lower one) before using the coarse adjustment knob (upper one)
- Be patient, always giving the device a couple seconds to stabilize between adjustments
Testing a 5V Power over Ethernet splitterAccuracy
The main complaint I have with this load tester is the accuracy. The current reading seems to be fairly accurate, and I haven't had too many issues with it. The voltage reading, however is a different story.
The product listing on Amazon and the MakerHawk website both list the accuracy of the voltage readings at .01V. I have found that the voltage readings have a resolution of at best .08V. I frequently see variations of around .1V or more from my multimeter's reading.
For that reason, I almost always use a multimeter along with this device to validate the voltage. I just connect probes to the screw terminals and use the multimeter voltage reading as the true indicator.
Build Quality and Finish
From the photos, it is obvious that this product is just a bare PCB with some plastic standoffs included. For that reason, I think the finishing on this product doesn't deserve a very high score. It would have been nice if it came with some type of enclosure, especially since it can have some high voltages and currents running through it.
That being said, the PCB itself is put together pretty nicely. Build quality feels strong and it still looks and feels great after a few months of use.
Li-ion Battery Modification
After using this product for a few months, I found that that I was often bringing it to the item I was testing away from the bench and looking for an outlet to plug in the power supply of the load tester itself.
This becomes pretty inconvenient, especially if you're testing a voltage source and there are no outlets nearby. I decided to modify it to be powered by a single 18650 Li-ion battery. It draws very little current (<50mA) when the fan isn't running, and a few hundred mA when the fan is running.
With TP4056 charging moduleStart by removing the heatsink and fan, and gluing a TP4056 charging module above the existing micro-USB power supply port. Then solder the connecting wires and put them through the cooling holes in the PCB.
I took this opportunity to clean off the thermal paste that came with the device and added some Arctic MX-4 thermal paste.
With boost converter and 18650 attachedOn the other side of the device, glue up an 18650 battery holder and a boost converter, like this one using the MT3608 chip. The boost converter you choose is important, since a single 18650 Li-ion battery can have a voltage between 3-4.2V, which might be out of spec, too low, for some boost converters.
With the battery-power modThis battery power mod has made the device a lot more pleasant to use, since I can just pop it out and connect the voltage source I'd like to measure. Since it uses the TP4056 charging module, charging it is as simple as plugging in a 5V USB phone charger.
